
Inevitably the items that we buy will break. With the way things are designed these days, the attitude is frequently that it is easier to just get rid of the item and replace it with a new one than spend the money for repairs. This is understandable as often times the costs for repairs can end up being more expensive than buying a completely new item. For very small items like cell phones and tablets, they may also be made such that they are sealed so repairs are not possible.
The problem is that there are many cases where the item in question can be repaired for less than it costs to get something new or it is more affordable to do it on your own then pay a professional. In a six month period, I had three cases of things breaking on me that I was able to repair or hack them back into working condition. Find out what they were and what resources I was able to use to get up and running.
Computer Repairs

MacBook Pro from 2007
Thankfully there are a number of resource sites out there that can help through the processor of disassembling electronics so that they can be repaired. In my case, I used which had a very detailed step by step instructions for the opening of the system, removal and replacement of the drive. Using , I was able to replace the drive in roughly twenty minutes once I had the proper tools.
Appliance Repairs/Hacks
Dryer With Hacked Start Button
Dryer Troubleshooting Guide
This cost was more than I really wanted to pay and since I had some electronics knowledge, I looked over the wiring diagram to see if I could bypass the control panel buttons and create my own switches. After figuring out what I need, I drove out to an electronics store to pick up a few switches and alligator clips plus scrounged up some wire. After about ten minutes of work, I had made an improvised control panel switch that lets my dryer work once again.
Car Repairs
One of the most dreaded things to happen for a car owner to see is the “Check Engine” or MIL (Malfunction Indicator Light) come on your dash. This little light is there to inform you that something is wrong that is impacting the performance of the car. Often the car continues to run just fine but if you need to get a smog or emissions certificate, you will instantly fail the test until the problem is taken care of.
The problem is that that one little light could be any one of hundreds of different errors in a very complex system. (Jalopnik wrote an excellent article on Why the ‘Check Engine’ Light Must Be Banned if you want even more detail.) The only way to determine the cause is to have the computer read which means either taking it to a mechanic to pay to have them diagnose the problem or buy a diagnostic unit which either way can costs hundreds.
Thankfully it is possible to take your car to many car parts stores where you can borrow such a unit. When my car recently got the light, I drove over to the a local O’Reilly Auto Parts store and borrowed one. A quick hook up to the OBD2 port located under the driver side dash returned a code of P2181 for my VW Jetta. They even gave me a print out of what the common causes are for this cooling system code.
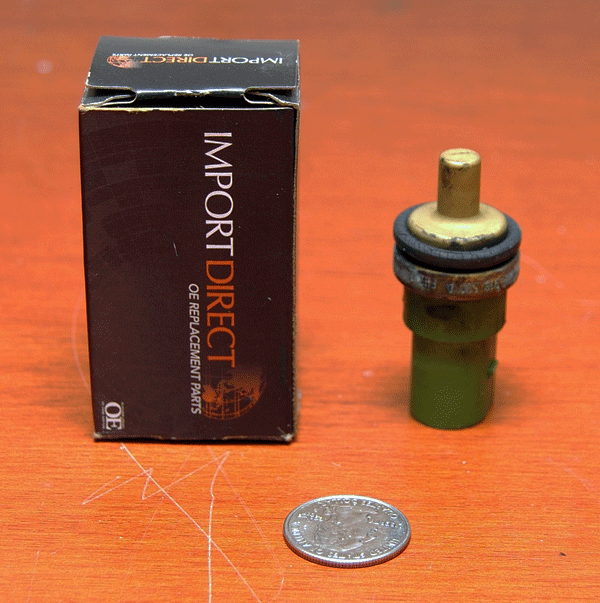
ECTS (Engine Coolant Temperature Sensor) for VW Jetta
In total, I spent around $50 and maybe an hour worth of time getting the parts and looking up the info which would have ended up costing me roughly one to two hours of labor from a repair shop plus part costs. So, if you get the dreaded check engine light on your car, you might want to spend a little time checking things out before running off to the repair shop.